-

12 Garden Tool Storage Ideas and Organization Tips
Finding a proper home for all of your garden tools can sometimes feel like a daunting task. After all, some tools are sharp or jagged, like pruning saws and gardening shears, while others are prone to tangles, such as cords and hoses. Sometimes it’s simply a matter of not having enough space; in other cases, you just don’t know how to keep certain supplies organized.
To help you figure out how to store garden tools, we’ve rounded up our favorite garden tool storage ideas. Our list includes the best storage tips for all your garden supplies, from your rakes to your fertilizers. When you follow these easy tips, you’ll have the most organized space in town in no time!
Tip #1: Take Advantage of Pegboards
Setting up a pegboard is a convenient way to create hanging garden tool storage. All you need is a pegboard and a few pegs to master this handy lawn tool organizer. Just hang the board in your shed or garage, and then hook your handheld tools like scissors, shovels, and spades onto each peg. If the tool doesn’t have a hole in it for placing over the peg, you can easily set up two pegs and balance the tool on top of it. Voila! You will always know where each tool is when you need it.
Tip #2: Stock Up on Buckets
Buckets are another easy lawn tool organizer. You likely already have some five-gallon buckets, so put them to good use. Fill them with everything from potting soil to gardening tools. To keep everything organized, label each bucket with a marker, so you know what’s inside. Throw a lid on each one and conveniently stack them in the corner. And because the buckets usually have a handle, you can always bring them into the yard with you when you’re working.
Tip #3: Round Up Plastic Bins
You can also use plastic bins as garden tool storage. They operate in much the same way as buckets — you can store all your tools and gardening supplies in these bins; just be sure to label the contents. These bins are stackable, so you can easily store them on a shelf, one on top of the other, to save on space.
Tip #4: Be Mindful of Chemicals
If you’re looking to store chemicals like fertilizers, pesticides, and herbicides, you’ll want to take special care, as these items can be dangerous if consumed or mixed with other products. First and foremost, if you have kids or pets, keep these chemicals out of reach. Store them on high shelves or in a locked bin or box. Next, always keep these chemicals in their original containers with their instructions and ingredients. If you’re unsure of what a certain chemical is, toss it. Finally, if you decide to use a storage unit for yard tool storage, be aware that you can’t store any kind of chemicals in it due to their flammability.
Tip #5: Make or Purchase a Caddy
If you’re looking for garden tool storage ideas you can take into the yard with you, consider building or purchasing a caddy. You can make one using wood or wire or find one at your local store. Organize all your supplies in each section, so each item has a home. Take the caddy with you when you’re tending to the garden, and then find a place for it on a shelf so that it’s always handy.
Tip #6: Use Tool Belts
There’s a reason why so many people wear tool belts when working on projects. After all, tool belts provide an easily accessible place for all your go-to items. You can use tool belts in the same manner for storing all your handheld garden tools. Hang a tool belt vertically on the wall of your shed or garage, and then plop in each tool, from your garden scissors to trowels. You can always unhook it from the wall and take it with you in the garden so all your supplies are at your fingertips. We call this yard tool storage idea a win-win.
Tip #7: Grab Some Clean Garbage Bins
Rake and shovel storage can be tricky because these tools tend to be longer and more cumbersome than some of the other tools in your shed. One easy fix is to purchase a new garbage can to store those items. You can toss everything in a bin, from your weed wacker to your forks. Just remember to face anything with sharp pieces down into the bin to prevent injuries or accidents.
Tip #8: Create a Magnetic Bar
Tap into your inner creativity and build a magnetic bar that can hold your metal garden tools in a row. Simply attach a magnetic strip that is strong enough to hang the weight of your tools to a wooden bar. Secure it to your wall horizontally, and then let the magnet work its magic. Your metal tools, like your saws, hammers, and shovels, should have no trouble sticking to the magnetic bar. And the best part? You can get as creative as your heart desires when designing this DIY garden tool storage concept.

Tip #9: Install Wall Hooks
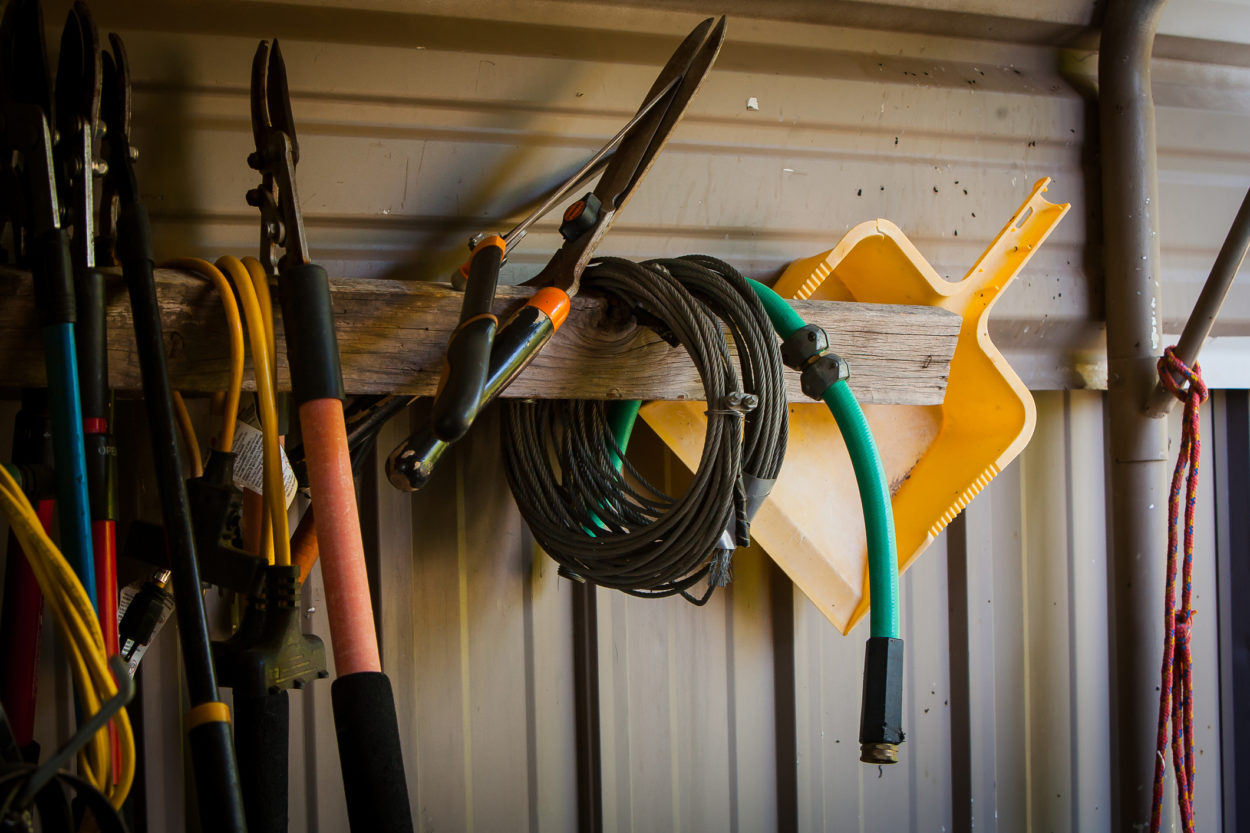
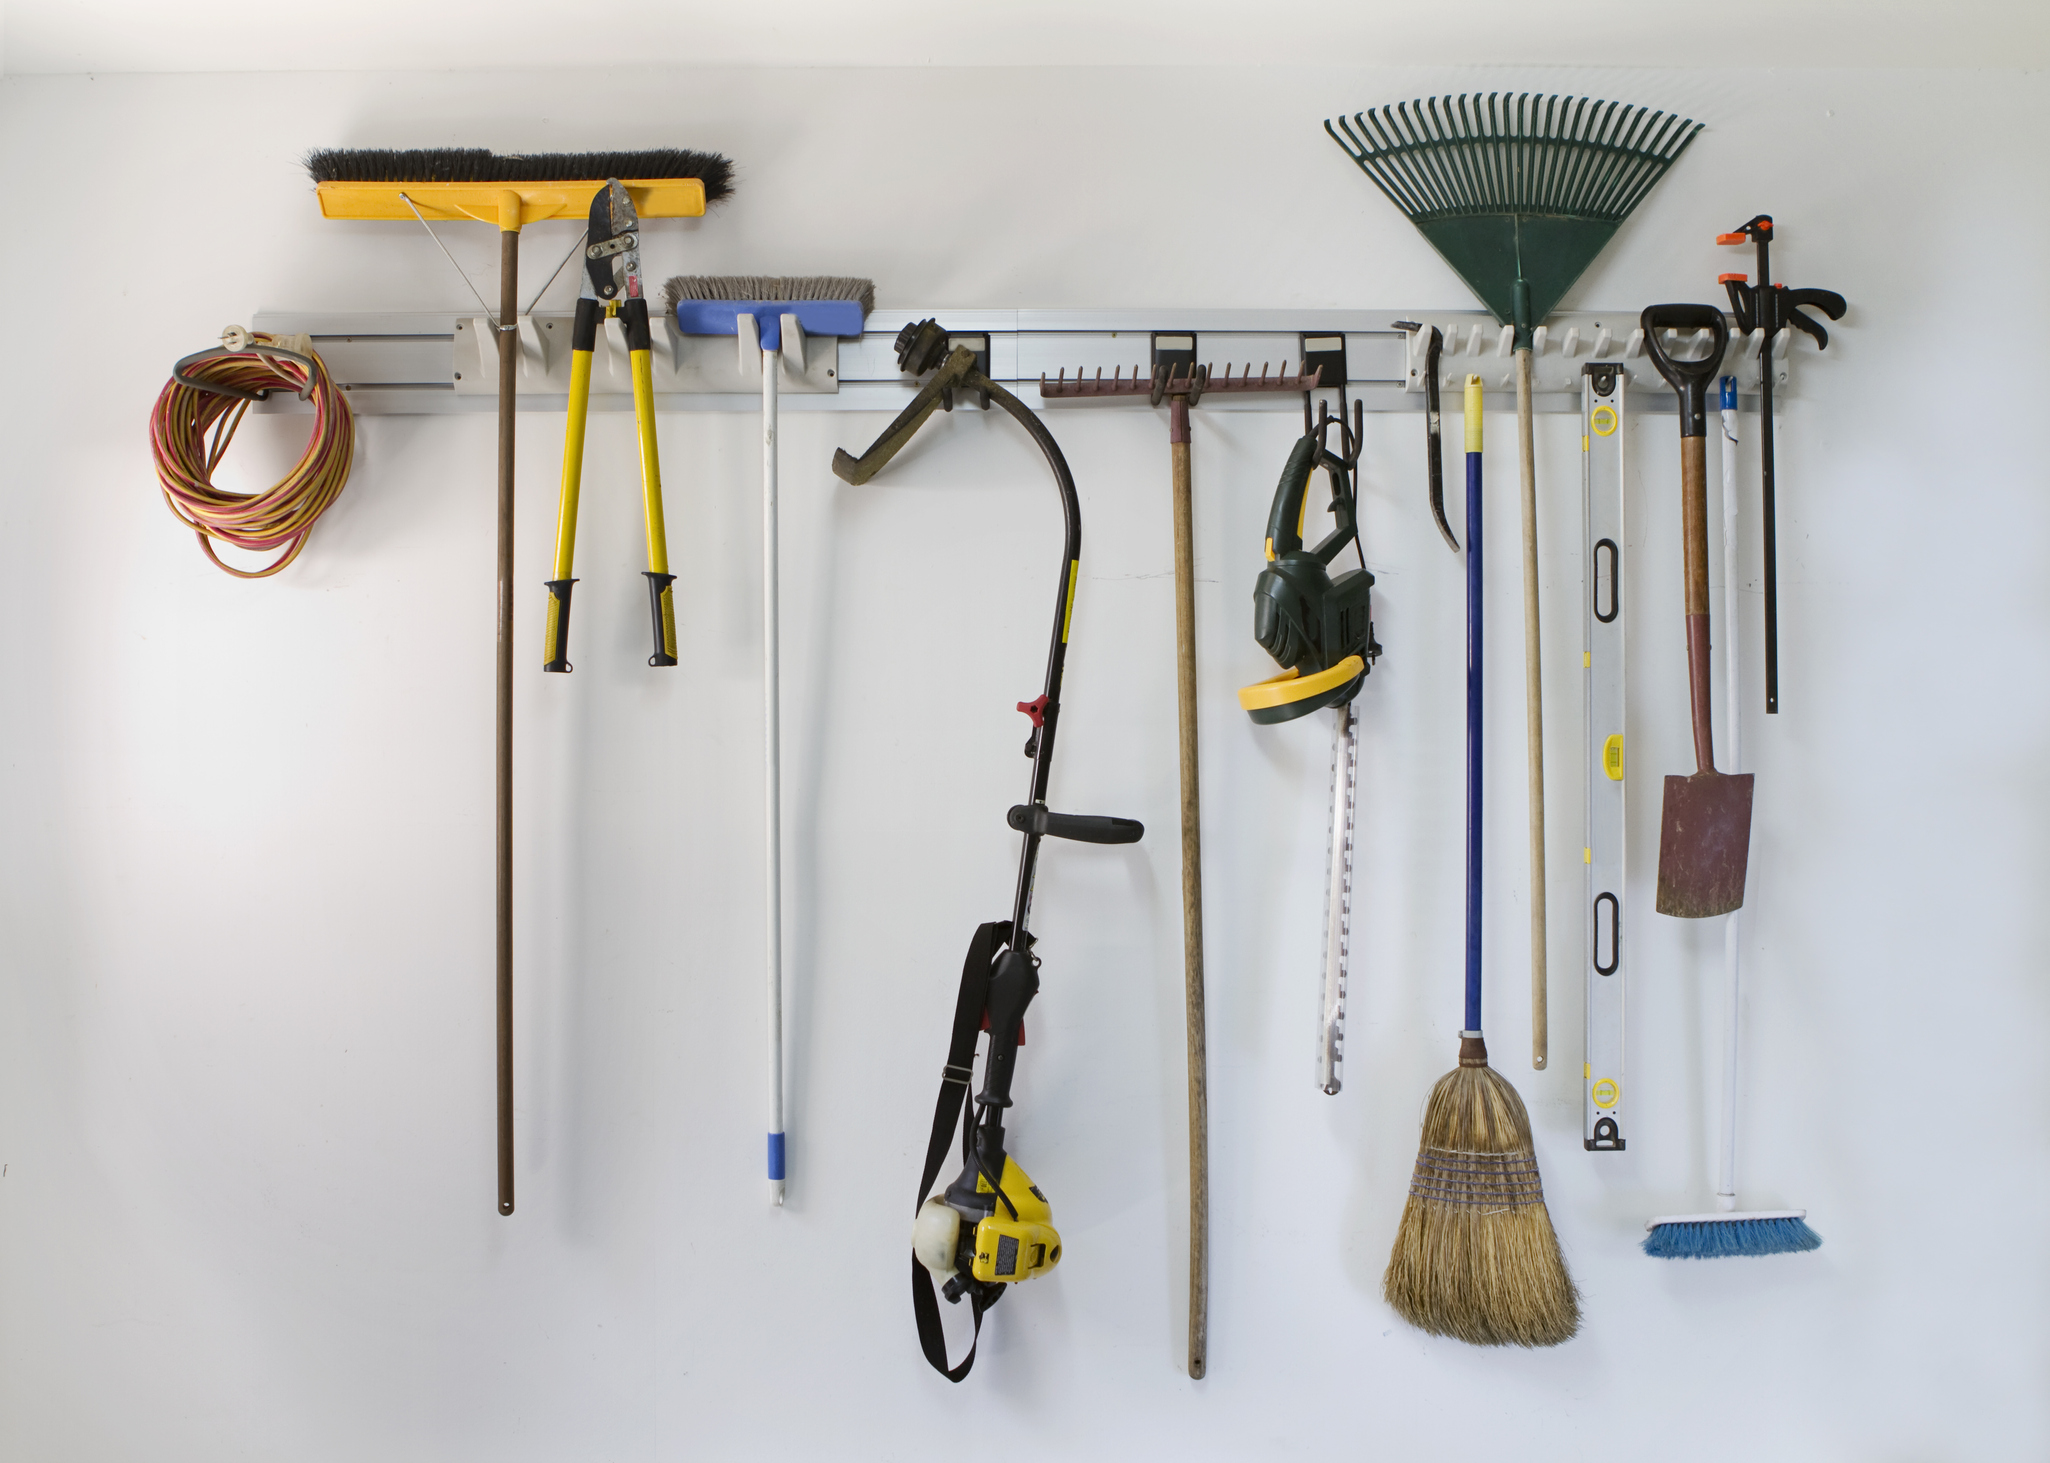
When it comes to ideas for hanging shovels and rakes, we recommend installing wall hooks. Pick up some plastic hooks or create your own with some PVC piping and secure them to your wall. Place two hooks side by side and adjust the width between them to fit each specific tool. For instance, you’ll want to space them wide apart for longer tools like rakes and hoes, but install them closer together for shorter objects, such as hedge shears and pruning saws.
These hooks also work wonders on cords and hoses. Just wrap them in a loop around the hooks to prevent them from tangling.
Tip #10: Set up a Mailbox or Cabinet in Your Garden
If you don’t have a garage or shed to store your garden tools, take advantage of your outdoor space. Design outdoor garden tool storage of your own using a mailbox or cabinet. Set up a mailbox in your garden and hide your gardening gloves, shovels, and pruners inside. Paint the mailbox or add distressed details to give it a rustic appeal.
Or, if you want even more storage space, place a filing cabinet or vintage locker in the corner or pick up an antique cabinet that can double as garden decoration. You can go to town filling these spaces with all your tools, and best of all, you’ll have easy access to them while working in the yard — and they’ll look good, too!
Tip #11: Incorporate Clay Pots
If you’re anything like us, you probably have a collection of leftover clay pots on your hands. So while you’re not using them for plants, fill them with sand and stick your gardening tools in them. Place them on a shelf in your shed or decorate your garden with them. Not only will it provide a convenient place for your supplies, but it will also make your space look absolutely lovely!
Tip #12: Rent a Storage Unit
Let’s be honest: we don’t all have access to a shed or garage on our property. And even if you do, there’s a good chance it’s already filled to the brim with all your other items. If you need a handy place for lawn tool storage, check out your local storage facilities. Here at Stor-It, we feature storage units in various sizes to best accommodate your items. If you only have a closet’s worth of tools to store, like a few rakes and shovels, look into our 5×5 storage units. But if you need to store bigger items like wheelbarrows and lawnmowers, our larger units might be the better choice.
Learn More About Stor-It
Renting a storage unit can make a world of difference when it comes to providing extra space for your items. Maybe you need a storage unit for your upcoming move or to hold your overflow items like garden tools and yard supplies. Whatever the reason, Stor-It is here to help you with all your storage needs. We are Idaho’s largest and oldest storage facility, so we are equipped to help you with storing items big and small. Contact us today to learn more about the benefits of a storage unit.
-
Receive Updates
Proudly Serving Idaho's Finest


